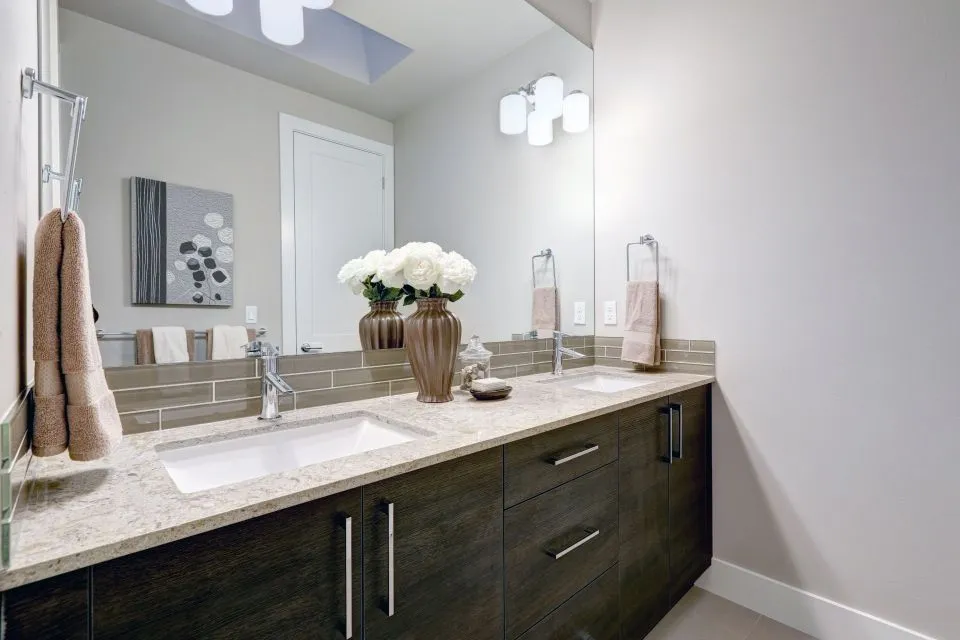
Managing a Countertop Seam Over an Appliance Cutout
A seam positioned across an appliance cutout is one of the more sensitive details in a kitchen installation. The opening may be for a cooktop, sink, hotplate or another fitted appliance, and the cutout interrupts the benchtop’s natural support. When a joint is placed close to that interruption, small movements, heat, moisture or installation pressure can make the seam more visible or increase the risk of damage.
The best result comes from treating the seam as a structural and planning issue rather than a cosmetic line to be hidden at the end. Material selection, cabinet layout, appliance specifications, support rails, adhesive choice and the fabricator’s templating process all need to work together. This is particularly important in Australian homes, where stone benchtops are exposed to strong sunlight, frequent cooking, humidity in coastal cities and the practical demands of family kitchens.
Why The Seam Location Matters
A benchtop is strongest where there is continuous material supported by cabinetry below. An appliance cutout removes part of that continuity, leaving narrow sections or corners that can be vulnerable during transport, lifting and installation. If a seam runs directly through a cutout corner, the remaining material may have less strength at exactly the point where stress is concentrated.
The issue is especially serious with brittle surfaces such as porcelain, marble and some types of natural stone. Quartz surfaces can also chip or crack if they are poorly supported, although the exact performance depends on the product and fabrication method. A join near an undermount sink, induction cooktop or wide gas hob should therefore be assessed using the appliance manufacturer’s cutout radius and clearance requirements.
A seam is not automatically a defect. Large islands, L-shaped kitchens and long walls often require joins because slabs have practical size limits. The aim is to place the joint where it can be supported, sealed and made visually discreet, rather than assuming every benchtop can be fabricated as one uninterrupted piece.
Plan The Cutout And Joint Together
The seam should be planned after the final appliance model has been selected, not from a generic image or an early cabinet drawing. Two cooktops with the same advertised width may have different cutout dimensions, corner radii, control locations and minimum clearances. The fabricator needs the current manufacturer’s installation template before the benchtop is measured and cut.
A joint parallel to the front edge may be preferable to one terminating at a cutout corner, depending on the layout. In other situations, moving the seam a little further from the opening gives the stone more support and produces a cleaner visual line. A skilled fabricator may also recommend changing the slab direction, adjusting the cabinet module or choosing a different appliance width.
For Australian renovations, allow time for site measurement after cabinets are fixed and level. Older homes in Sydney, Melbourne or Brisbane can have walls and cabinetry that are slightly out of square, while apartment access may restrict slab movement through lifts and corridors. A precise template helps prevent the installer from making last-minute adjustments that could weaken the cutout area.
Details To Confirm Before Fabrication
- The exact appliance model and manufacturer’s cutout drawing
- The intended seam position in relation to cabinet supports
- The material slab size, grain direction and finish
- Any joins required for splashbacks, waterfall ends or sink openings
A household budget should also keep appliance purchases, delivery fees and unrelated online spending in separate categories; a bonus buying guide may be relevant to promotional research, but it should not be confused with the fixed costs of fabrication and installation.
Add Support Beneath The Vulnerable Area
Support is the practical foundation of a safe seam. The cabinets beneath the joint should be level, securely fixed and capable of carrying the weight of the surface. Depending on the design, the installer may use steel support bars, plywood substrates, timber rails or additional cabinet framing. The correct solution depends on the material, span, overhang and appliance opening.
A cutout should not leave a thin strip of stone unsupported along the front or rear edge. This is a common concern with wide cooktops and sinks, where the opening removes a large section of the benchtop. Support rails should be positioned so they do not obstruct the appliance body, ventilation, electrical connections or plumbing.
Island overhangs need separate attention. A breakfast bar projecting beyond the cabinetry may require brackets or legs, and the support must be designed before the stone is lifted into place. In Australia, stone installers and builders should also account for workplace safety during handling. Large slabs are heavy and awkward, so temporary support and a controlled lifting method protect both the surface and the installation team.
Choose A Joint That Suits The Surface
The appearance and durability of a seam depend on the material. Quartz is often joined with a colour-matched two-part adhesive, while granite and marble may require careful colour selection because natural movement and veining can make a joint more noticeable. Porcelain and Dekton need specialist cutting and handling because their edges can be particularly susceptible to impact.
Patterned stone requires a discussion about vein matching before fabrication. A seamless visual flow may require extra slab material, a different layout or a higher fabrication cost. With marble, prominent veining can make an accurately aligned seam look intentional, whereas a badly positioned joint may interrupt the most visible feature of the slab.
Butcher block is handled differently because timber expands and contracts with changes in moisture. A join near a sink or cooktop must allow for movement and be protected with an appropriate finish. Soapstone and some other natural materials also have individual maintenance requirements, so the seam treatment should be compatible with the surface’s expected ageing and sealing routine.
The visible colour of the adhesive can change under different kitchen lighting. Inspecting a sample or a dry layout near the appliance helps set realistic expectations. A seam that is almost invisible in a showroom may appear slightly different in direct afternoon light or beneath bright task lighting.
Get The Fabrication And Installation Sequence Right
The cabinets must be installed, levelled and firmly secured before the final template is taken. If the cabinetry moves after templating, the cutout and seam may no longer align properly. Walls, end panels, splashback allowances and appliance clearances should all be checked at this stage.
During fabrication, the cutout edges should be finished according to the material supplier’s requirements. Sharp internal corners can create stress points, so rounded corners are commonly specified for cooktops and sinks. The fabricator should also verify that the seam does not fall through a narrow bridge of material or leave an unsupported section that could flex during appliance installation.
On installation day, the sections should be dry-fitted before adhesive is applied. The joint must be clean, level and properly aligned, with no debris preventing the edges from closing. Appliance installers should avoid using the new benchtop as a lever or standing platform. Heavy cooktops, sinks and appliances need to be lowered carefully, without striking the seam.
The final seal around a sink or cooktop should be appropriate for the appliance and benchtop material. Silicone or another approved sealant helps prevent water entering the cabinetry and seam area, but sealant cannot compensate for poor support, an uneven joint or excessive movement beneath the surface.
Respect Australian Material And Safety Requirements
Material terminology matters in Australia. Since 1 July 2024, the national prohibition on the manufacture, supply, processing and installation of engineered stone benchtops, slabs and panels has changed how many renovation projects are specified. State and territory workplace safety systems enforce the prohibition, with limited rules relating to existing products and permitted removal or repair work. A homeowner should confirm whether a proposed “quartz” product is engineered stone or a different material before ordering.
Natural quartzite, porcelain, granite, marble, Dekton and other products are not automatically interchangeable with engineered stone. Each has its own fabrication requirements, edge limitations and safety controls. Ask the supplier for clear product information and make sure the tradesperson follows current Safe Work Australia and state or territory guidance for cutting, dust control and handling.
In Western Australia, Queensland, Victoria, New South Wales and the other jurisdictions, workplace rules and enforcement details can differ. A licensed or suitably qualified contractor can explain the applicable requirements, particularly where an existing benchtop is being altered. Dry cutting crystalline-silica-containing products is a serious health risk and should never be treated as an ordinary on-site adjustment.
Electrical and gas work also require the correct licensed trades. A benchtop installer may prepare the opening, but connecting a gas cooktop or modifying electrical wiring should be left to the appropriately licensed professional. The appliance must be installed with the manufacturer’s clearances and Australian electrical or gas requirements in mind.
Inspect The Finished Seam Carefully
Once the adhesive has cured, inspect the joint from normal standing height and from the angles used most often in the kitchen. A fine line may remain visible, particularly in a dark or heavily veined surface, but the edges should be flush and stable. There should be no obvious step, open section, adhesive smear or sharp transition.
Run a clean fingertip lightly across the seam only if the installer confirms the adhesive has cured. Do not scrape it with a knife or abrasive pad. Check that the appliance sits evenly, the cutout edge is smooth and the surrounding surface does not move when gentle pressure is applied away from the opening.
Keep the care instructions and product warranty documents. Some manufacturers require specific cleaners, resealing intervals or restrictions on heat exposure. Hot pans should go on a trivet where recommended, and harsh chemicals should not be left standing near the joint. In coastal areas such as Perth, Newcastle or the Gold Coast, salt-laden air and humidity make prompt attention to moisture ingress even more worthwhile.
Warning Signs That Need Attention
- A seam that opens, lifts or changes width
- Cracking from an internal cutout corner
- A benchtop section that flexes under light pressure
- Water entering the cabinet beneath the joint
Photograph any change and contact the fabricator or installer rather than attempting a repair with household glue. A professional can determine whether the cause is movement, impact, inadequate support, appliance pressure or a material issue.
When To Reconsider The Layout
Sometimes the safest solution is to move the seam rather than refine it. If the proposed joint would pass through a narrow strip beside a large sink, end at a cooktop corner or sit over a long unsupported span, a small design change may provide a much stronger result. This could mean selecting a smaller appliance, adding a cabinet division, changing the slab orientation or using a different material.
A thicker-looking edge does not necessarily mean a stronger benchtop. Laminated edges can improve the visual weight of a surface, but the underlying support and cutout design still determine performance. Likewise, a waterfall panel or decorative end should be coordinated with the main slab seam so the lines look deliberate.
For unusual layouts, fireplaces, outdoor kitchens, furniture pieces and other bespoke work, reviewing a fabricator’s custom countertop projects can help demonstrate how joins, edges and material patterns are managed. The relevant question is not whether a seam exists, but whether its location, support and finish suit the way the surface will be used.
A carefully planned seam over or near an appliance cutout can remain stable and visually discreet for many years. The strongest outcome comes from early coordination between the homeowner, cabinetmaker, appliance supplier, fabricator, installer and licensed services, with the final design based on the actual product specifications rather than assumptions.