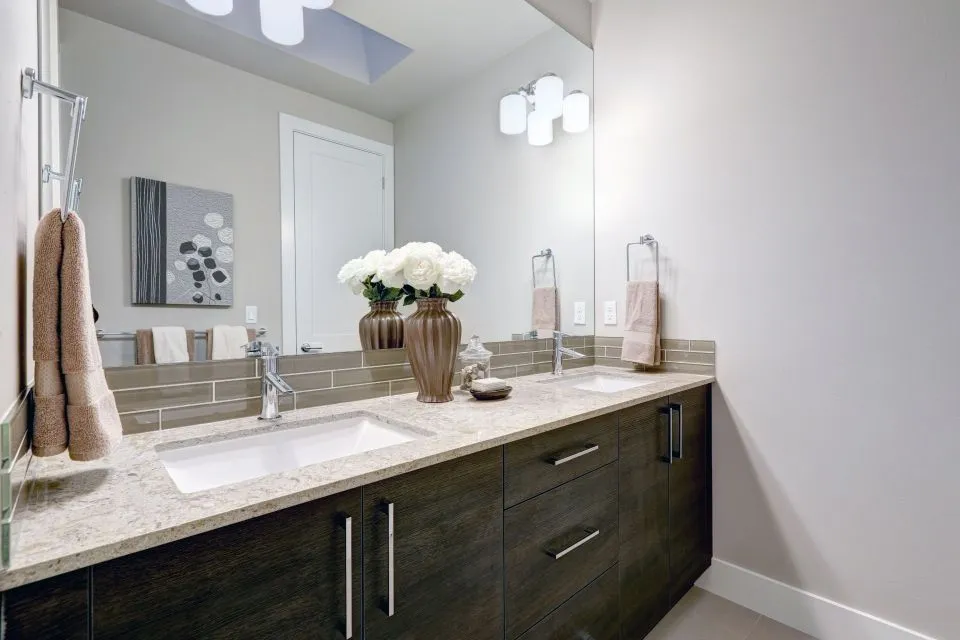
Crafting a custom fireplace mantel with a stone top
A custom stone-topped mantel gives a fireplace a strong architectural centre and ties it visually to the rest of a room. It can be a clean floating shelf, a broad ledge, or a layered surround with returns and a lower shelf. Because every piece is cut for a particular opening, the result should suit the fireplace, wall construction and heating method rather than arrive as a generic off-the-shelf feature.
The process of creating a custom mantel with a stone top for a fireplace moves through design, site measurement, templating, fabrication and installation. Each decision affects the next: the chosen stone determines workable edge details, while the fireplace type sets required clearances and support. A disciplined sequence helps prevent visual misalignment, heat-related problems and costly changes after cutting.
For Australian homes, that sequence begins with local conditions. Fireplaces often anchor an open-plan living area, and gas heaters are common in metropolitan Sydney, Brisbane and Adelaide, while wood-burning fireplaces remain popular in cooler parts of Victoria and Tasmania. Measurements are taken in millimetres, and homes built with brick veneer or masonry need particular care when attachments are made.
At The Countertop Store, consultation, field measurements, templating, stone fabrication, edging and installation are coordinated as one workflow for clients in and around North Little Rock, Arkansas. The same core process is useful in Australia, provided the designer and installer confirm the fireplace manual, local council requirements and the heating appliance used on the property.
Planning around the fireplace
Planning starts with the appliance, not the decorative stone. The fabricator needs the fireplace make and model, fuel type, opening width and height, depth, flue arrangement and any existing surround. Timber, gas and coal appliances have different heat zones and installation rules, so a mantel designed for one must not be assumed suitable for another.
The site survey also records nearby walls, return walls, flooring, ventilation paths and clearances to curtains or joinery. Decorative fireplaces without a working appliance may conceal different hazards from masonry fireplaces. The National Construction Code, state or territory requirements, relevant Australian Standards and council rules all shape the final arrangement; AS/NZS 2918 is particularly relevant to domestic fireplaces and heaters.
Designers then choose a proportion that feels balanced from the main seating position. A wide slab can make a modest opening look generous, whereas a narrow mantel emphasises vertical proportions. Full-height surrounds, floating ledges and asymmetrical details are all practical, but every style needs a defined fixing zone and a support system capable of carrying the stone's dead load.
Choosing the stone and finish
Stone selection combines performance, character and maintenance. Engineered quartz is especially familiar in the Australian renovation market and offers consistent colour, a broad slab range and straightforward cleaning. Granite provides more natural variation and handles use well, while marble, porcelain and sintered surfaces can create a more distinctive or contemporary result. Suitability near heat remains an individual product decision.
Samples help establish the palette, but the installed slab should be reviewed where possible because movement, veining and clouding can vary between batches. Light from an open-plan room can change a finish considerably during the day. Edge profiles such as square, eased, bullnose, mitred or waterfall should be chosen at the design stage, as they alter both appearance and the fabrication method.
Details including thickness, seams, corner treatment and whether the mantel returns down the wall should be recorded before templating. Dark honed stone can emphasise texture, while polished stone reflects more light and shows fingerprints around a busy hearth. In a broader renovation, coordinating the palette with wet-area work can prevent clashes, making it useful to review bathroom surface options before individual surfaces are ordered.
Measuring and templating the site
Field measurement establishes the actual geometry of the room. A laser measure and detailed template capture wall irregularities, uneven masonry, projections, shadow gaps and the fireplace opening. Existing brickwork can sit slightly out of square, so the top piece may need scribing to the wall instead of relying only on nominal dimensions. The final template becomes the controlling reference for cutting.
Digital documentation reduces misunderstandings during approval. Dimensioned drawings, slab details, edge profiles, fixing locations and appliance clearances should be easy to compare, and a revision history helps prevent an outdated drawing reaching the workshop. The value of cloud construction records for architects, trades and builders illustrates how shared files can keep the construction brief accessible to each participant.
Templates also need to show how the stone will meet the wall and which areas must remain visible. Scribe lines, expansion gaps, concealed fixings and the position of electrical outlets should be marked rather than assumed. This prevents the finished mantel from becoming an obstacle when trim, lighting or service access is installed later.
Comparing materials for the mantel
No single material suits every fireplace. Heat exposure, cleaning routines, desired style, available slab sizes and the distance from the fire should guide the decision, rather than price or appearance alone. The following comparison highlights the practical balance between the main surfaces used for custom fireplace surrounds in the Australian market.
| Material | Strengths for a fireplace surround | Appearance and upkeep | Selection caution |
|---|---|---|---|
| Engineered quartz | Consistent colour, low porosity and easy cleaning | Broad colour range with a uniform finish | Protect the resin binder from excessive direct heat |
| Granite | Durable and naturally varied | Each slab is unique and generally serviceable | Consider sealing and exposure to hot embers |
| Marble | Elegant veining and a premium appearance | Polished or honed finishes are available | Acid-sensitive, softer and vulnerable to etching |
| Porcelain | Dense, colour-stable and UV resistant | Slim modern profiles suit contemporary rooms | Edges can chip and require careful handling |
| Dekton | Scratch, stain and heat resistance | Large-format panels create minimal joints | Follow product-specific heat and fabrication limits |
| Soapstone | Warm colour and a distinctive tactile finish | Develops a soft patina with use | Check thermal performance and required clearances |
Heat tolerance should not be confused with permission to reduce clearances. A non-combustible slab still needs room for heat movement, and the appliance manufacturer may prohibit covering vents, trimming flues or placing material in a specified hot zone. Stone around a gas fire should follow the firebox instructions, while a wood-burning appliance demands attention to embers, soot and radiant heat.
After comparing samples in the room's lighting, the selection is frozen for fabrication. Record the slab name and batch where possible, then approve the full-sized piece, edge and fixing details. This is the point to balance the custom look with long-term care, since a material that ages attractively but requires harsh chemicals may suit one household poorly and another very well.
Fabricating the custom surround
Fabrication begins with approved drawings and the site template. Stone is cut on a diamond saw or computer-controlled equipment, with drilled fixings, mitres or cutouts prepared as required. The stone-topped mantel may be built as a single cantilevered slab, a joined ledge with concealed seams, or a combination of top, legs and shelf pieces that share one consistent profile.
Edges are ground and polished after cutting, and any protected surfaces or factory finishes are restored only after machining. The fabricator checks dimensions at several stages, especially across long pieces, because stone tolerances and wall conditions can differ by a few millimetres. Templates, photographs and marked slab numbers should remain available during installation so the workshop can resolve anomalies.
Before dispatch, the components are dry-fitted or laid out in sequence, with holes and fixings checked against the support design. A concealed steel rail, cleat or engineered bracket may be needed because a dense slab can weigh several hundred kilograms. Weak plasterboard, cavity walls and decorative chimneys are not sound fixing points without suitable framing or specialist engineering.
Installing the stone-topped mantel
Installation begins with protecting the floor, stone and nearby finishes. The support is installed and levelled first, then the mantel is positioned without forcing it against masonry that may be irregular. Fixings must engage the structure without drilling into a flue or weakening a chimney. Chemical anchors or mechanical fixings are selected for the wall type and the calculated load.
Stone is set with the planned gaps and movement allowance, then checked with a level and measured from several points. Seams are aligned where sightlines are least noticeable, and silicone is applied only where the detail calls for it. In Australian brick-veneer homes, the inner leaf and framing arrangement must be understood before drilling; older homes may also contain brittle mortar or altered cavities.
Completion includes confirming that the mantel has not obstructed ventilation, outlets, trim or the appliance's required service zone. Any gas connection or appliance adjustment belongs with a licensed gasfitter, while chimney and fire safety checks should follow the product instructions and local requirements. Photographs, care instructions, warranties and the signed-off measurement sheet are handed over with the completed work.
Finishing details and long-term care
Care begins with the material's own requirements. Quartz and porcelain generally need mild soap, water and a soft cloth, while natural stone may need periodic sealing. Marble is sensitive to acidic cleaners, granite can darken when wet, and a honed surface may respond differently to oils. The hearth also collects soot, wax and grit, so gentle cleaning protects both the stone and nearby joinery.
Inspect the installation seasonally for cracked sealant, loose fixings, condensation or soot deposits. Stone should not be exposed to sudden temperature swings from hot embers, and objects should not be dragged across the ledge. Chimney sweeping, appliance servicing and the frequency of sealant renewal should follow manufacturer guidance and how intensively the fireplace is used.
The finished custom fireplace surround is the result of coordinated choices rather than a single cut-and-place operation: a suitable stone, accurate template, engineered support, careful setting out and verified clearances. The Countertop Store applies this disciplined approach to custom stone work in North Little Rock and nearby Arkansas communities, creating a mantel that fits its room and performs as part of the fireplace system.