How waterfall edge benchtops are fabricated
A waterfall edge countertop gives a kitchen island or bathroom vanity a sculptural, continuous appearance. The horizontal surface folds visually into a vertical return, making the stone seem to extend from the worktop to the floor. Creating that effect requires accurate templates, careful slab planning, precision cutting and a tightly controlled mitred joint rather than a simple square edge applied at the end of fabrication.
The fabrication sequence normally moves from consultation and measurements through templating, slab selection, CNC machining, edging and final installation. Each stage affects the appearance and strength of the completed feature. Australian projects are commonly measured in millimetres, with benchtops around 850–950 mm high and 600–650 mm deep, so converting dimensions without rounding errors is especially important when long mitres must line up.
Turning the concept into a measured design
A design consultation establishes how the waterfall edge will be used, what it will support and how it should relate to the cabinetry. The fabricator considers the island layout, seating overhang, appliance positions, sink placement and whether the vertical return should stop above the floor or continue into a plinth. Those decisions influence the joint layout, reinforcement and support required during installation.
Cabinet boxes and walls must also be surveyed accurately before the final template is made. Existing rooms are rarely perfectly level, and an out-of-square wall can shift the visible angle of a mitre. A site template or digital scan captures those irregularities, while the fabrication drawings translate them into cut lines for the stone. For a large island, slab yield can determine whether joins are unavoidable; this full-slab island guidance explains why one continuous piece is often preferred.
Selecting the slab and planning the grain
The selected material determines much of the fabrication method. Quartz is commonly supplied in 20 mm or 30 mm thicknesses, while granite, marble, soapstone, porcelain and Dekton may be available in different slab and panel formats. Butcher block can create a warm waterfall feature, although its construction and directional grain require careful planning. Stone colour, vein movement, thickness and slab dimensions should be approved before machining begins.
Slabs are inspected for fissures, staining, resin lines and other defects that could become prominent after cutting. The layout is then nested around the countertop, mitres and cutouts so the strongest usable areas remain in visible positions. Australian projects may draw from local and imported stock, with slab yards in Sydney, Melbourne, Brisbane, Perth and Adelaide supplying both domestic and overseas material. Freight distance can influence availability, matching requirements and the final cost of a complete slab.
Cutting the top and machining apertures
Templates or digital measurements are transferred to the fabrication equipment, where CNC machinery cuts the countertop outline and specialist tools form openings for sinks, cooktops and taps. Rough cuts may leave several millimetres of material around each feature, allowing the edge to be refined and polished after the main shape is complete. This staged approach helps protect fragile corners and keeps the final dimensions within the cabinet tolerances.
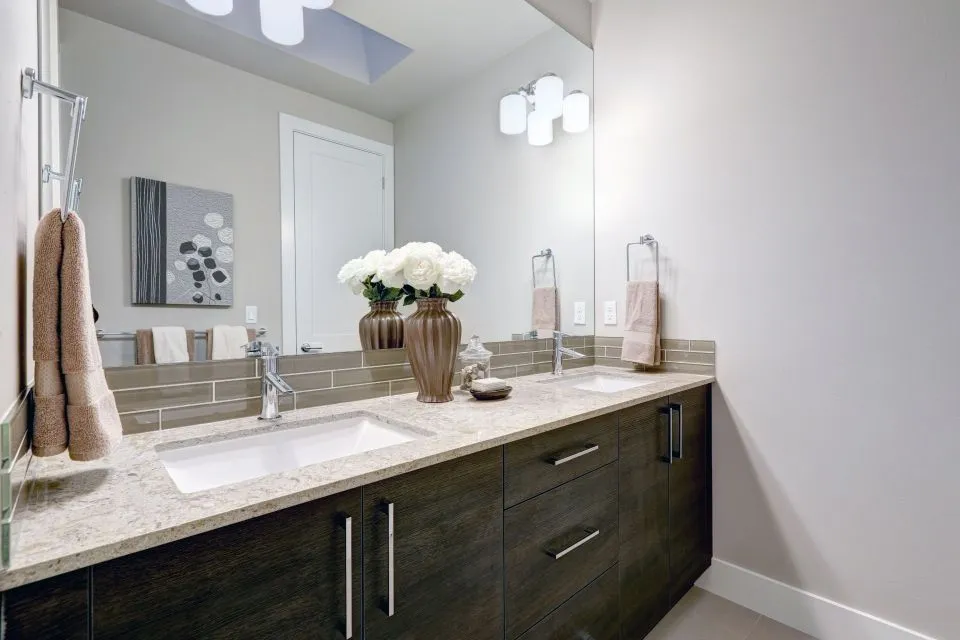
An integrated sink is more involved than simply cutting a standard hole. The opening must follow the sink manufacturer’s template, remain square and have enough clearance for the flange. Plumbing connections, countertop thickness and support around the bowl all need to be considered. In compact Australian kitchens, where a 700–900 mm single bowl may occupy much of a 600 mm-deep benchtop, the cutout can materially affect the available preparation space and must be agreed before fabrication.
Forming the mitred waterfall return
A true waterfall return is made from a separate length of stone joined to the countertop at an angle. The horizontal and vertical pieces receive complementary mitres, creating the appearance of a single slab folding downward. A genuine square mitre uses two angled stone edges, while a short or half mitre uses a smaller angled detail. Faux mitre construction can reproduce the folded appearance with a matched strip, although the joint treatment differs.
The two mitred faces must meet consistently along their full length. Adhesive is applied with controlled spacing, and clamps or a fabrication frame hold the assembly in the correct position while it cures. Any adjustment after the adhesive sets is difficult, so the joint is checked for alignment, flatness and the intended visual line. The same precision can support custom fireplace surrounds, mantels, furniture pieces, outdoor kitchen surfaces and bathroom features beyond standard benchtops.
Finishing the surface and checking fabrication
Edge machining follows the cutting stage. A waterfall return may have a mitred arris, a softened eased profile, a bevel or another decorative edge. Exposed edges are ground and polished to match the slab surface, while honed or leathered finishes receive their own specialist treatment. Porous materials such as marble, granite and soapstone may also require sealing, with the product selected for the material and intended use.
Every fabricated component is checked before dispatch against the approved drawings. This includes dimensions, mitre angles, cutout positions, polish consistency, colour matching and the quantity of panels or accessories. Minor discrepancies are corrected before the stone leaves the workshop because on-site adjustments are more time-consuming and may not produce the same finish. For busy rooms, durability deserves the same attention as appearance; a commercial case examining heavy-bag durability shows how demanding environments test surfaces well beyond normal showroom conditions.
Installing the panels on site
On installation day, the cabinetry must be level, secure and capable of carrying the finished stone. The top and vertical panels are checked in position, then bonded with the appropriate countertop adhesive. A professional fabricator controls the amount of adhesive so it supports the joint without squeezing excess beyond the mitre. Mechanical fixings or discreet brackets may be incorporated into the design where additional restraint is required.
Seams are aligned, filled and cleaned before the joint is finally finished. Wall splashbacks and shower walls are installed with suitable waterproofing and movement joints, while quartz shower pans require particular attention to falls, drainage and seal continuity. Related wet-area planning can be coordinated through bathroom surface services. In Australian renovation work, sequencing commonly involves the cabinet maker, plumber, electrician, stone supplier and installer, each completing its designated stage before final handover.
Matching fabrication to Australian projects
The best edge construction depends on the room, material and available slab dimensions. A premium island may justify a full mitre where the veining deserves to continue downwards. A more restrained approach may use a short mitre or faux detail to control cost in a large, open kitchen. Australian summer conditions also influence outdoor kitchens and rooms with strong sunlight, making UV resistance, heat performance and stain resistance important when selecting quartz, porcelain, Dekton or granite.
The fabrication choices below show how appearance, material use and project priorities affect the waterfall edge.
| Edge construction | Appearance | Fabrication considerations | Suitable project |
|---|---|---|---|
| Full mitre | Stone appears to fold continuously at the corner | Requires precise complementary angles and careful adhesive assembly | Design-led islands with prominent veining |
| Short mitre | A defined angled transition remains visible | Can improve material yield and suit broader slab layouts | Larger kitchens where practicality and cost matter |
| Faux mitre | A folded effect is created with joined or matched elements | Requires careful strip selection and seam placement | Complex layouts, thinner panels or restrained budgets |
The completed feature depends on coordination across the entire project, from the first cabinet measurement to the final polished joint. Accurate templating, suitable material, controlled fabrication and a sound installation plan turn separate stone panels into a clean architectural detail that functions as a practical work surface as well as a visual centrepiece.