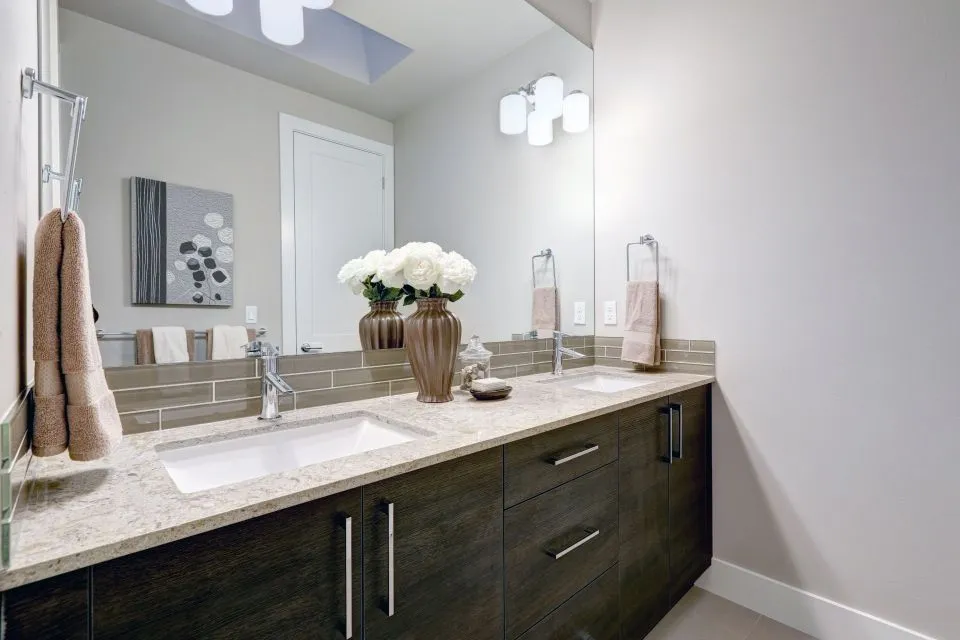
Measuring stone countertops with sinks on an island
Getting the measurements right is the single most important step when a stone countertop with a sink is being installed on a kitchen island. A small error, even two or three millimetres, can leave a homeowner with a slab that does not fit, a sink that does not align, or a join that sits visibly proud of the cabinetry below. The measuring stage is also where most of the hidden complications are revealed, such as uneven floors, out-of-square walls, or plumbing that has been roughed in at the wrong height.
In Australia, where most new kitchens are designed around open-plan living and large island benches, the challenge becomes even more pronounced. Island tops often span three metres or more, and a single slab of quartz or granite rarely covers the entire length. That means fabricators must plan where the joins will fall, how the sink cut-out will be positioned, and how the stone will be supported across the span. A laser templator or a digital measuring system is almost always used, but the tradie still needs to interpret the data, check it against the cabinetry, and flag anything that looks off before a saw blade ever touches the stone.
Homeowners in Sydney, Brisbane, and Melbourne are increasingly asking for integrated sinks, drainer grooves, and waterfall ends, all of which add complexity to the measuring process. The good news is that when the work is done properly, the result is a countertop that looks like it grew out of the cabinetry, with seams that are barely visible and a sink that sits perfectly flush. The remainder of this article walks through each stage of that process, from the first site visit through to the final verification before fabrication begins.
Site visit and cabinet verification
The first time a fabricator visits a home, the island cabinetry should already be installed, levelled, and permanently fixed to the floor. If the cabinets are still loose or the floor is being tiled later, the measurements taken on that day will be wrong. This is one of the most common reasons stone tops end up being re-cut, and it usually traces back to a builder or chippie who did not want to wait for the templator to arrive.
During the visit, the technician will check the cabinets for level in both directions, measure the diagonals to confirm the island is square, and note the exact position of any supporting brackets or steel rails. In older Brisbane and Melbourne homes, floors can slope by 10 to 15 millimetres across a three-metre run, which is enough to throw out a stone slab if it is not accounted for. The cabinet heights are also recorded, because the stone fabricator needs to know how much overhang the client wants at the seating side of the island, and whether the dishwasher or bin drawer below will interfere with the support structure.
Plumbing rough-in is another item that gets verified at this stage. The hot and cold pipe positions, the waste outlet, and any electrical conduits for a boiling water tap or a pop-up socket on the island all need to be marked on the plan. If the plumber has run the waste at the wrong depth, the sink will either sit too high or too low once it is mounted under the stone. Catching these problems at the first visit is far cheaper than discovering them after the slab has been cut, which is why experienced firms treat the initial measure as a full survey rather than a quick look.
Digital templating and laser measurement
Once the site has been checked and the cabinetry confirmed, the actual templating begins. Most modern fabricators in Australia use a combination of laser measuring, digital templating, and sometimes photogrammetry. The technician runs a laser disto across every face of the island, capturing the lengths, widths, and any out-of-plane deviations in the walls or cabinets. This data feeds into CAD software that produces a full three-dimensional model of the stone.
The advantage of going digital is twofold. First, the drawing is accurate to within a millimetre or two, which is well within tolerance for a stone benchtop. Second, the file can be sent directly to the CNC saw or waterjet, removing the need to translate a paper template into a cutting program by hand. For clients in regional areas such as the Central Coast or Geelong, this also means a templator can capture the data, upload it, and have a fabricator in the city begin cutting the slab without anyone having to drive a physical template across the border.
| Method | Accuracy | Best suited for | Equipment cost | Time on site |
|---|---|---|---|---|
| Manual plywood or cardboard template | ±3 mm | Simple benchtops, small bathrooms | Low | 1–2 hours |
| Laser disto with hand-recorded dimensions | ±2 mm | L-shaped kitchens, single slabs | Medium | 1 hour |
| Full digital templating with laser and CAD | ±1 mm or better | Islands with sinks, waterfall ends, mitred joins | High | 45–90 minutes |
| Photogrammetry and 3D scanning | ±1 mm | Complex curves, heritage joinery, very large spans | Very high | 1–2 hours |
The choice of method usually comes down to the complexity of the job and the budget of the client. For a straightforward galley kitchen, manual templating is still perfectly serviceable and keeps the cost down. For an island that includes an undermount sink, a drainer run, and a waterfall end, digital templating is the safer option, because every transition is modelled before the saw starts.
Sink cut-outs, overhangs, and support requirements
An island bench with a sink is not just a larger version of a standard benchtop. The sink itself introduces a large cut-out that weakens the slab, and depending on the material, additional support may be required underneath. Quartz and granite are both strong in compression, but a long, unsupported span over a sink can flex, and a flexing slab will eventually crack around the cut-out. Fabricators usually specify either a steel sub-frame, a plywood deck, or a series of supporting rails that run the length of the island.
The position of the sink relative to the seating side and the cooking side is also discussed at this stage. Some clients want the sink facing the cooktop so dishes can be rinsed and transferred in one motion. Others prefer it set back toward the breakfast bar so guests are not staring at a pile of washing up. Whatever the choice, the overhang on the seating side of the island needs to be at least 250 millimetres to allow knees to fit underneath comfortably, and many Australian kitchens now specify 300 to 350 millimetres for a more generous seating area.
Edge profiles are selected around the same time. A square polished edge looks crisp but shows chipping more readily, while a pencil round or a 10-millimetre arris is more forgiving in a busy household. If the client has chosen an integrated sink, the transition between the sink bowl and the benchtop is seamless, which means the fabricator has to polish the internal corners by hand. This is skilled work, and it is another reason why the measuring stage matters: the sink template has to be exact, because the polishing cannot be fudged later.
Coordinating with suppliers and other trades
A stone benchtop is the last thing to be installed in most kitchens, but the measuring cannot happen in isolation. The cabinetmaker, the plumber, the electrician, and sometimes the tiler all need to have finished their work before the templator arrives. When a project is running late, there is often pressure to template before everything is ready, and that is where mistakes creep in. A reliable fabricator will hold off until the cabinetry is signed off, even if it means delaying the install by a week or two.
Choosing the slab itself is another step that often happens around the same time. For a large island, a single slab may not be wide enough, which means a join is inevitable. The position of that join is a design decision, not just a fabrication one. Most Australian kitchens place the join in the sink area, because the sink cut-out disguises the seam and the silicone join can be hidden under the sink rim. The grain or veining of the stone also needs to run consistently across the join, which requires careful planning when the slab is selected from our vendors page.
Lighting is another factor that is often overlooked. The way a stone looks under the downlights at the showroom can be very different from how it looks in a north-facing kitchen in Perth or a dim apartment in Hobart. Many fabricators now bring sample blocks to the site visit so the client can see the slab in their own light before the cutting begins. This is a small step, but it prevents the all-too-common situation where a client is unhappy with the colour once the slab is installed and the benchtop has to come out.
Final checks and the handover to fabrication
The last stage of the measuring process is the verification step, where the technician double-checks every dimension, every cut-out, and every note on the plan before it goes to the workshop. At this point, the client is usually asked to sign off on the drawing, which confirms that the sink position, the overhang, the edge profile, and the join locations are all correct. Any changes after this point will incur a re-template fee, and in some cases, a new slab will need to be ordered if the original is no longer available.
For larger commercial or multi-residential projects, the same principle applies, but the documentation is more rigorous. Digital defect lists are often used to track issues between trades, and a transparent record of any variations or site instructions is kept from the first measure through to practical completion. Using a structured digital snag list at this handover stage reduces the chance of a missed detail ending up in a finished benchtop, and it gives the client a clear paper trail if something needs to be revisited.
Once the plan is signed, the file is exported into the cutting software and queued for fabrication. The slab is selected, the grain is matched, and the saw, waterjet, or CNC is programmed. From the client's perspective, this is where the process moves out of their hands and into the workshop, but the quality of what comes out of the workshop is entirely dependent on the care taken in the days beforehand. A well-measured island with a sink will drop into place with minimal adjustment, while a poorly measured one can take half a day to shim and pack, and will never look quite right.