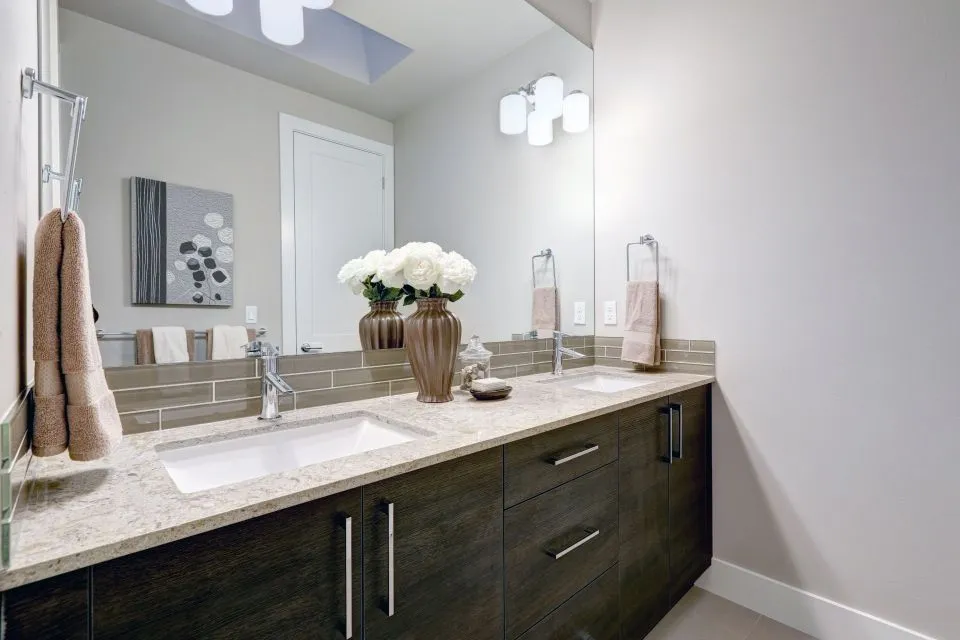
Sealing a Quartz Benchtop for Lasting Stain Resistance
Quartz has earned its place as one of the toughest benchtop materials a renovator can pick, and for good reason. Most slabs arrive from the manufacturer with a factory finish that shrugs off coffee, red wine, lemon juice, and the everyday splashes that happen in a busy Australian kitchen. Still, even engineered stone can benefit from an extra layer of protection, particularly in households where cooking happens every night and weekend entertaining around the barbie is part of life. Sealing a quartz benchtop is not a difficult job, but it does call for careful prep, the right product, and a steady hand during application.
Plenty of homeowners in Brisbane, Sydney, and Perth assume that because quartz is non-porous it never needs sealing, and for the most part that is correct. The resin binders used in engineered stone make the surface inherently resistant to liquids. Yet over years of heavy use, the factory polish can wear down in high-traffic zones, especially near the cooktop and sink where heat and moisture cycle through constantly. A penetrating sealant designed for engineered stone can restore that invisible shield and buy your benchtop another decade of good looks without any drama.
Why some quartz surfaces benefit from a fresh seal
Quartz is often labelled "maintenance-free," but that tag is a stretch once the benchtop has been through a few years of real family life. The resin content in a typical slab sits somewhere between seven and twelve percent, and while that resin keeps water and oils from soaking in, it is not invincible. Prolonged contact with turmeric, beetroot, or strong curry powders can leave a faint mark on older surfaces where the original polish has dulled. In humid coastal areas like the Gold Coast or Byron Bay, salt air and constant moisture can also accelerate the breakdown of the factory finish over time.
Sealing does not change the colour or texture of the benchtop when done correctly, which is one reason it has become popular among owners of pale-coloured quartz. A light surface shows every splash of soy sauce or drop of olive oil, and the peace of mind that comes with a sealed surface is well worth the small investment of time. Sealing also gives you a buffer in which to wipe up spills before they have a chance to react with the stone, which is especially handy in family kitchens where the kids are forever tipping things over. Many homeowners who take sealing on as a weekend project are surprised at how forgiving the process is, even if they have never tackled anything similar before.
Prepping the quartz before the sealant goes on
A sealant will only bond well with a surface that is genuinely clean, so the first afternoon of work is all about prep. Start by clearing everything off the benchtop, including small appliances, utensil pots, and the toaster. Give the entire surface a wipe-down with a pH-neutral stone cleaner to lift everyday grime, then follow with a more targeted clean using isopropyl alcohol diluted with water. The alcohol cuts through any residue from cooking oils and leaves the quartz ready to accept the sealant without interference from grease or soap film.
If the benchtop has any stubborn marks, a non-abrasive scrubbing pad and a paste made from bicarbonate of soda and a little water can work wonders without scratching the resin. Rinse thoroughly and dry the surface completely with a clean microfibre cloth, because any moisture trapped under the sealant will cloud the finish. Let the benchtop sit for at least a couple of hours, or overnight if you have the time, before moving on to the next step. A properly dry surface is the foundation of a long-lasting seal, and skipping this stage is the most common reason a sealing job fails.
Once the surface is fully dry, give it one final wipe with a tack cloth to pick up any lingering dust before you open the sealant bottle. This last step is something the pros never skip, because even a thin layer of household dust can show through the sealant once it has cured and leave the surface looking slightly cloudy in raking light. Taking ten extra minutes here saves a lot of frustration later, and it sets up the rest of the job for a clean, professional-looking result.
Picking a sealant that suits engineered stone
Not every benchtop sealant on the shelf at your local hardware store is right for quartz. Penetrating sealants formulated for natural stone like granite or marble can sometimes leave a cloudy residue on resin-bound surfaces because the binders react differently. Look for a product specifically labelled for use on engineered quartz, or one that mentions compatibility with resin-based surfaces. Water-based sealants tend to be safer for indoor use because they have lower odour and dry faster, which matters when you are working in a kitchen that still needs to function for the family.
Popular choices among Australian tradies include products from brands that stock the shelves at Bunnings warehouses and at independent stone yards in places like Marrickville, Fortitude Valley, or Osborne Park. Always read the manufacturer's data sheet before buying, and check the expected coverage rate so you purchase enough to do the job in one go. Running out halfway through the second coat is a frustrating way to spend a Saturday arvo, and a quick call to the supplier can confirm how much product you will need for your specific benchtop size. Some sealants also offer different finishes from natural to enhanced, so pick the look that suits your kitchen before you start.
Applying the sealant in steady, even strokes
Once the surface is prepped and the sealant is in hand, the actual application is straightforward. Pour a small amount of sealant onto a clean, lint-free cloth or a foam applicator pad, and work it into the quartz using circular overlapping strokes. Cover a manageable section at a time, perhaps half a square metre, so the sealant does not start to dry before you have spread it evenly across the surface. The goal is a thin, uniform film rather than a thick puddle, and you will usually see the surface go slightly darker as the sealant absorbs into the resin.
Allow the first coat to sit for the time specified on the bottle, typically between five and fifteen minutes, then buff off the excess with a fresh microfibre cloth. Any leftover sealant that dries on the surface will leave a hazy residue that is harder to remove later, so the buffing step is critical. After the first coat has cured, apply a second coat in the same way to build up protection, particularly in areas around the sink and cooktop that take the most abuse in the average Aussie home. Two coats are usually sufficient, though high-use kitchens where you cook every night may benefit from a third light coat to really lock in protection.
Caring for the sealed surface over the long haul
A properly sealed quartz benchtop does not need much to stay in good nick, but a few habits will extend the life of the seal by years. Wipe spills as soon as they happen, especially anything acidic like lemon juice, vinegar, or wine, because even a sealed surface can mark if given enough contact time. Use cutting boards rather than slicing directly on the quartz, both to protect the seal and to keep your knives sharp. Hot pots should always go on a trivet, since sudden temperature changes can stress the resin and weaken the seal around the edges of the slab.
Re-sealing every two to three years is a sensible rhythm for most households, though the timeline varies depending on how heavily the kitchen is used and how much direct sunlight the benchtop receives. North-facing kitchens in places like Cairns or Townsville, where the sun beats in through big windows for much of the day, may need a fresh seal sooner because UV exposure gradually breaks down sealants. To test whether your benchtop needs another round, sprinkle a few drops of water on the surface and watch what happens. If the water beads up nicely, the seal is still holding. If it soaks in and darkens the quartz, it is time for another application.
If you are weighing up whether sealing is worth the effort, it helps to think about how long you plan to keep your current benchtop and how much daily use it endures. Learning more about the lifespan of different benchtop materials can help you decide where sealing fits into a longer maintenance plan, and a good place to start is this overview of lifespans. Knowing what to expect from your surface over the years makes it easier to plan ahead and avoid surprises down the track.