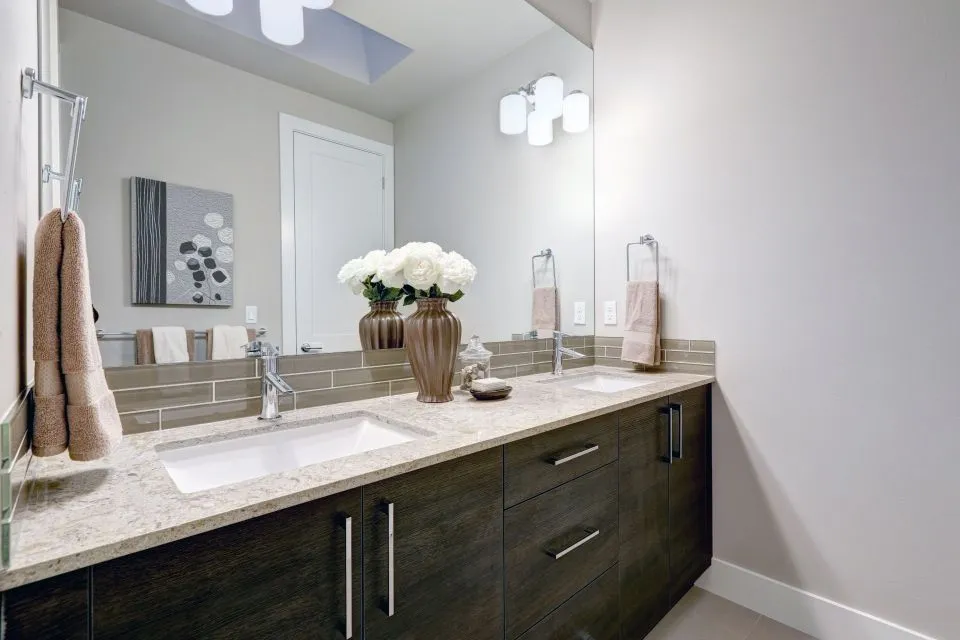
Templating complex L-shaped countertops with accuracy
Countertop templating turns a room’s cabinetry and plumbing plan into a precise fabrication pattern. For a complex L-shaped countertop, it is where a drawing becomes a physical reference that the fabrication team can trust. A small error at the inside corner can leave a visible gap, crowd a cooktop or make a mitred edge impossible to align.
The process of templating for a countertop with a complex L-shape is more than measuring length and width. The template must capture cabinet movement, wall deviations, cutouts, edge profiles, clearances and the position of every finished surface. This careful workflow, used by The Countertop Store in North Little Rock, Arkansas, also suits Australian homes, where families often combine a breakfast bench with a compact return and an integrated sink.
Why complex L-shaped layouts demand careful measurement
An L-shaped worktop is difficult because two runs must meet cleanly while each follows different walls, cabinets and obstacles. The long leg may pass a window, while the return accommodates a fridge or dishwasher. A rectangular slab cannot reproduce that geometry without a joint, so the template becomes the reference for how the pieces will be joined, finished and supported.
Australian kitchens commonly use 600 mm cabinet modules, and a 900–1,000 mm-deep breakfast bench changes the shape considerably. Open-plan kitchens in Sydney and Melbourne often place the worktop beside dining and living areas, making the outer corner highly visible. These are ordinary local design conditions, yet each one adds a reference point that must be measured rather than assumed.
Digital drawings establish intent, but they do not reveal every site variation. A renovation may work around ducting, a relocated water point or a wall that is not quite square. Photos can explain the room, but they do not provide the millimetre accuracy needed for a stone edge or tight sink opening. A countertop measurement for an unusual layout is therefore a site-specific exercise, not a quick tape-measure task.
Preparing cabinetry and confirming the countertop layout
Base cabinets should be installed, levelled and securely fixed before the template is made. The maker checks that doors, drawers and appliance fronts will clear the finished surface. Sink plumbing, cooktop ventilation and the chosen dishwasher can affect cutout sizes, so fixtures should be available or their manufacturer’s exact templates obtained.
The design review should also establish which edge and joint details are wanted. Homeowners often choose a mitred corner, a waterfall end or a thicker profile, while a compact urban kitchen may use a 20 mm reveal to absorb uneven walls. Custom furniture, fireplace surrounds, mantels and outdoor kitchen worktops need the same disciplined reference points, even though their detailing differs from a standard kitchen run.
For a wider renovation, check the National Construction Code and state requirements for electrical work, wet-area waterproofing and building approvals; a worktop replacement alone may not require council consent. Licensed electricians should handle fixed wiring, and appliance clearances should be confirmed against the products selected. Resolving these items before templating prevents an accurate stone pattern from conflicting with the finished room.
Capturing the template and recording every detail
At the appointment, the maker checks cabinet fronts, wall returns, scribe allowances and appliance openings. Each straight run is documented from a stable reference, then the inside corner and outside return are captured separately. This avoids treating a diagonal as a cabinet width or confusing an obstruction with the finished wall line.
Where practical, a physical template is assembled from stable sections and joined without distorting the corner geometry. Sink cutouts, tap holes, cooktop openings and smaller returns can be marked during the same visit. An integrated sink needs particular care because the stone opening and the sink flange must agree; a nominal sink size is not enough.
Surface details belong on the record as well. The maker identifies polished, eased, bullnosed and mitred edges, notes any planned seam and records the direction of grain or veining. Granite, marble and quartz each require slab planning, while sintered porcelain, Dekton and soapstone have their own fabrication considerations. Butcher block can also form a useful timber section, provided its expansion and finishing requirements are understood.
Digital and laser-assisted tools can speed up measurement, but they do not remove the need to understand the installation. A Brisbane renovation with a 450 mm cabinet return may involve walls altered by previous owners. The fabricator needs to know which elements are fixed, which can move and whether the final cabinetry will match the template.
Checking accuracy before the stone is cut
The captured shape is checked for squareness, diagonal agreement and the relationship between each cabinet run and the corner. These checks can reveal a shifted cabinet or a misread obstacle. They also show whether a joint can sit discreetly within the layout or should follow a less conspicuous line.
The approved template is then reconciled with the material order. An L-shape can consume more stone than its simple area suggests, and slab dimensions may limit the available layout. If two pieces are needed, their positions and sequence should be agreed before cutting. A labelled, photographed template makes the intended orientation easy to communicate to the workshop.
Revisions are least costly before fabrication. Moving a sink, changing the edge profile or adding a charging point within the stone should be reflected on the approved drawing, not after a slab has been cut. This is especially important where Australian electrical rules require licensed work and specified wet-area clearances. A settled design gives the cabinet maker, plumber, fabricator and installer one shared reference.
Coordinating materials, edges, and fabrication
With approval, the fabrication team moves from measurement to manufacturing. The stone is chosen for colour, thickness, finish and slab availability, then the template guides cutouts, joints and edging. A mitred L-shaped corner needs accurate angle and length information; a butt joint depends on the adjoining cabinet faces being accurate too. The joint should suit the room rather than the easiest production route.
Thickness shapes the edge details as well as the appearance. A 20 mm slab can receive a slim eased edge, while 30 mm stone supports a more substantial profile. Australian kitchens often favour pale quartz or marble, although dark granite and sintered surfaces are also common. The client’s cooking habits, lighting and maintenance preferences should guide that choice rather than a generic notion of local style.
A contrasting accent can add warmth without complicating the main layout. This guide to butcher block accent material shows how timber can work beside stone in a kitchen. A short timber section on a breakfast bench or display shelf preserves the main stone template while giving the L-shaped work surface a deliberate focal point.
Carrying the template through installation
Approved templates and diagrams should travel with the material to the workshop, and the same references should follow the finished pieces back to the site. Each part needs a clear label linking it to the template, especially when the design includes a joint, mitred corner or several cutouts. Photographs of the installed cabinets help the installer resolve uncertainty without redrawing the shape.
On installation day, the crew checks cabinets and wall conditions before placing the stone. Temporary support can expose a problem that was invisible during templating. The L-shaped counter may be installed from the long run toward the return, but access and wall condition determine the sequence. Protecting the stone and working around appliances must be planned before heavy pieces enter the room.
Custom counters may also support appliances or form part of an outdoor kitchen. Where unusual loads are involved, supporting systems need their own specifications; this explanation of epoxy mortar flooring shows why material performance cannot be judged by appearance alone.
Australian conditions deserve attention during transport and fitting. A stone surface can heat quickly under direct sun, while kitchens with west-facing windows may already be warm when the crew arrives. Silicone and other sealants should be allowed to cure as specified. Outdoor kitchens in Perth, Adelaide and regional areas also bring UV exposure, temperature changes and weatherproofing into the same precision process.
Comparing methods and preparing for fabrication
Template methods differ in cost, flexibility and accuracy. The suitable choice depends on how irregular the L-shape is, whether fixtures are installed and how much the cabinetry may move. A well-prepared site and clear fabrication drawing make a physical template dependable, while a renovation with several obstacles may benefit from digital measurement and physical verification.
These approaches should be compared against the actual room, the chosen material and the available trade expertise. A method that saves time at the appointment but produces an unclear layout can add hours at fabrication or installation.
| Method | Best suited to | Main strengths | Common limitations |
|---|---|---|---|
| Physical template | Complex L-shaped layouts and irregular rooms | Captures site geometry and supports a hands-on workshop process | Takes time to assemble and must be transported carefully |
| Digital template with laser measurement | Regular runs with many fixed services | Produces fast, repeatable dimensions that pair well with CAD drawings | Requires trained operation and compatible design software |
| Hybrid approach | Renovations with uneven walls or mixed obstacles | Combines measured data with physical site checks | Needs more coordination and clear responsibility for approvals |
For homeowners, builders and renovators, several practices make the strongest difference:
- Complete cabinet installation and product selection before the appointment.
- Check the approved layout for dimensions, cutouts, edges, joint position and grain direction.
- Ask for photographs and labelled references of the final template and finished pieces.
- Confirm electrical, waterproofing and council requirements for the broader renovation.
- Review the site again before installation if cabinetry, walls or appliance choices have changed.
A well-documented template gives each trade a common reference, from the first cutout to the final joint, and protects the precision established during measurement.