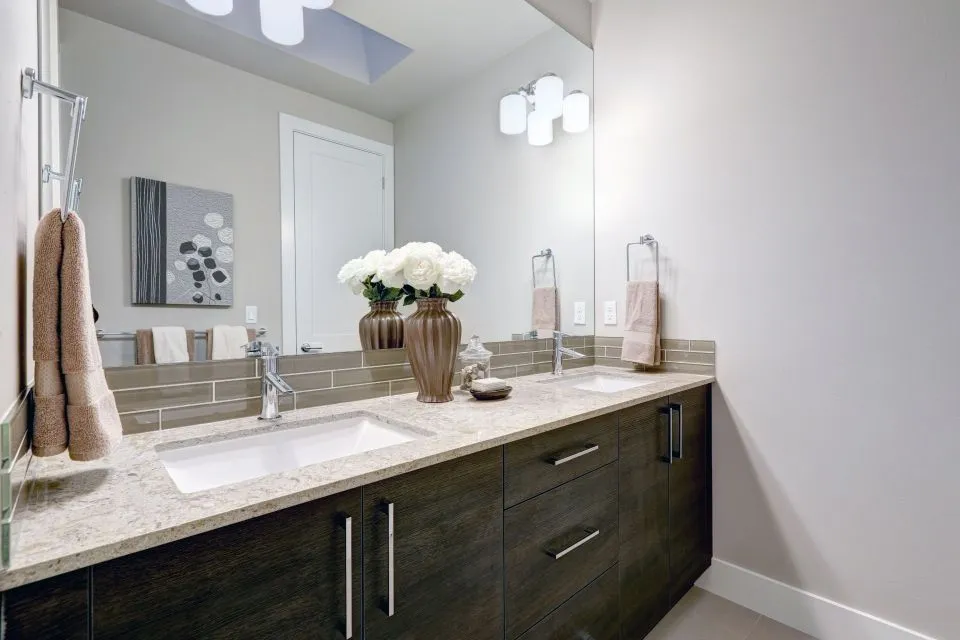
Installing a countertop around an undermount sink
An undermount sink gives a kitchen or bathroom a crisp, uninterrupted surface because the sink rim sits beneath the finished countertop rather than on top of it. That neat appearance hides a demanding join: the opening must match the bowl, the cabinet must support the weight, and the perimeter must be sealed without compromising the material. A mistake at any of those points can lead to leakage, chipping or a sink that sits unevenly. The installation process therefore works backwards from a fully prepared cabinet and a confirmed sink specification.
Australian renovators often start with a clear idea for the room, then split the work between a cabinet maker, benchtop fabricator, tiler and licensed plumber. Metric measurements, common 20 mm engineered quartz and the popularity of 600 by 600 mm splashback tiles all influence the detail. It is the small decisions—plumbing positions, tile setting-out, cabinet reinforcement and the sink model—that determine whether the final job looks effortless. Following the usual Aussie rule of “measure twice, cut once” is especially valuable when a beautiful slab is being turned into a permanent fit-out.
Planning the sink and benchtop together
Begin with the sink, not the slab colour. A stainless-steel bowl, fireclay basin or composite sink may have a different cutout requirement, and some models must sit at a specific angle or with a defined reveal around the exposed edge. The bowl depth also affects the cabinet, waste fitting and doors. Check the manufacturer’s installation sheet, and take the physical sink or a full-size sample to the measuring appointment if possible. Integrated sinks and sink grids are separate choices, with the grid needing clearance from the bowl’s drain.
The cabinetry needs to be ready before the benchtop is measured. It should be level, square, clean and free from damp, with enough internal space for the bowl, trap and any movement of the waste pipe. Heavy sinks may need brackets fixed to the cabinet base or a timber support rather than relying on the countertop edge. A fabricator should check for obstructions behind the sink, including plumbing and electrical conduits, and confirm that reinforcing timber will not interfere with the bowl. These details are easier to solve before fabrication than to correct after a polished cutout has been made.
A full countertop service should treat the sink, cabinetry, splashback, tap holes and installation scope as one job, covering consultation, measurement, templating, fabrication, edging and installation rather than leaving the benchtop fitter to guess what the plumber intended. The final material can also influence the room’s balance: pale quartz can make dark timber cabinetry feel sharper, while softer stone tones may suit painted walls. If you are still settling on a palette, this guide to cabinet and wall colours is a useful companion to the technical planning.
Measuring and templating the cabinetry
Measurements are taken on site, in millimetres, after the base cabinets are installed. Depending on the job, the fabricator may make a full-size laminate template or use a digital scan. The sink cutout is usually controlled by the sink maker’s drawing, including any required clearance and orientation; it is not simply a hole matching the bowl’s widest point. The plumber’s rough-in, tap and mixer locations, splashback setting-out and any nearby cabinet handles must all fit around that opening.
Check the room rather than trusting the plan alone. An older Melbourne terrace may have a floor that falls away from the wall, while a Brisbane renovation in a humid climate needs good airflow around the base cabinets. At a Sydney property built with timber framing, the installer must allow for normal movement between the structure and the cabinetry rather than forcing a rigid surface into an uneven wall. The job also needs a clear path from the delivery vehicle to the kitchen and enough working room for the sink and countertop to be handled safely.
Australian jobs are often quoted in separate parts: supply and installation of the stone, cabinetry, tiling and plumbing may sit with different businesses. Ask for an itemised written quote and check whether site measurement, template making, edging, the cutout, old-benchtop removal and GST are included. A licensed plumber should complete or approve the relevant rough-in, and electrical work near the sink needs an appropriately qualified tradesperson. Comparing one quote with another is worthwhile only after checking that the scope and inclusions are equivalent.
Cutting and preparing the surface
Once the template is approved, countertop fabrication begins. A CNC router or waterjet forms the opening, followed by polishing of the exposed cut edges where required. The opening should be checked against the actual sink before the top leaves the workshop. Fine chips along a mitred edge or a slightly oversized hole cannot be corrected at the property, so controlled machining and careful handling are especially important with thin porcelain and sintered stone.
Material choice affects more than appearance. Engineered quartz is dimensionally consistent and usually does not require sealing, making it a popular choice for busy Australian kitchens. Granite, marble and soapstone each have their own sealing and care needs, while porcelain requires a sink approved for use with that material and a cutting method suited to its edge. Natural-stone panels may also need moisture barriers. The fabricator should specify the exact sink, mounting system and compatible adhesive rather than treating all undermount installations as identical.
Ask the fabricator how the sink will be supported and how the installation will be protected from the realities of a working home. Reviewing custom project examples can help you judge the quality of edge profiles, junctions and detailing before committing. A project featuring the same sink, cabinet arrangement and surface is more useful than a photograph taken under perfect studio light, particularly if you are planning a splashback, outdoor kitchen or second bathroom.
Seating the sink and joining the benchtop
On installation day, the old benchtop is removed carefully, the cabinet is cleaned and dried, and the sink and new top are test-fitted. The sink should drop into place without force, with all mounting hardware able to engage. Clips, brackets and support rails are adjusted while access is still easy. The worktop must sit flat on the cabinet, not bridge a dip or twist to fit a room, because that can stress the material and open the joint around the bowl.
The fixing method follows the sink and surface manufacturers’ instructions. An experienced installer applies the specified adhesive evenly around the clean rim and uses the correct clips, then leaves the assembly undisturbed for the full stated cure time. Neutral-cure silicone is often suited to natural stone because it will not stain the surface, while a metal sink may come with a dedicated two-part adhesive or mechanical fastening system. General-purpose sealant is not a safe substitute. The waste and trap can be connected while the adhesive cures, but the plumbing must not place stress on the mounted sink.
Once the fixing products have cured, water is run through the system and every joint is checked for drips. The perimeter of the sink receives the specified flexible sealant, and any joint between surface sections is filled and finished to match the intended pattern. Movement joints need a flexible product rather than rigid filler. At the wall, the benchtop-to-splashback joint is sealed according to the chosen materials; tile, stone and silicone do not all move at the same rate. Allow every adhesive and sealant to cure before the job is treated as complete.
Final checks before the job is signed off
After curing, the protective film is removed, the surface is cleaned with a product appropriate to the finish and the sink is checked for alignment and drainage. Natural stone may need sealing on the fabricator’s recommended schedule, with enough time for the surface to be ready for daily use. Keep the cutout and waste details in the handover notes, along with product-care instructions and the installation warranty. If the sink maker requires a specific sealant or maintenance product, record that information too.
Ask the plumber to perform a final test once the benchtop installer confirms that fixing is complete. Run water through the mixer, fill and drain the bowl, inspect below the cabinet and check the isolation valves. In a new renovation, photograph the concealed plumbing and finished sink rim before the splashback or cabinetry hides them. That record helps with later maintenance and makes it easier to identify the source if a leak appears. The installer and plumber should then leave the area clean, with any spare cutout material and hardware stored safely.
- Bring the sink’s cutout drawing, installation instructions and, where possible, the physical sink to the measuring appointment.
- Finish and level the cabinets, complete the plumbing rough-in and confirm the tap-hole positions before the countertop is templated.
- Get an itemised quote covering measurement, fabrication, the sink cutout, edging, delivery, installation, removal and any plumbing work.
- Agree on the adhesive, clips, sealant and cure times in writing, especially for natural stone or porcelain installations.
| Mounting style | How the opening is made | Key installation concern |
|---|---|---|
| Top-mount sink | A hole is cut to suit the visible flange, which then rests on the surface. | The flange must cover the cut edge exactly, and its clips or screws must reach solid cabinetry. |
| Undermount sink | The bowl is fixed beneath the surface, with its rim concealed within the opening. | The cutout follows the sink maker’s drawing, and suitable cabinet structure must support the bowl. |
| Integrated sink | The basin is formed or joined to the countertop as a coordinated assembly. | The fabrication method, joint detailing and bowl support must be designed before the top is made. |